recipes /
gluten-free sourdough starter
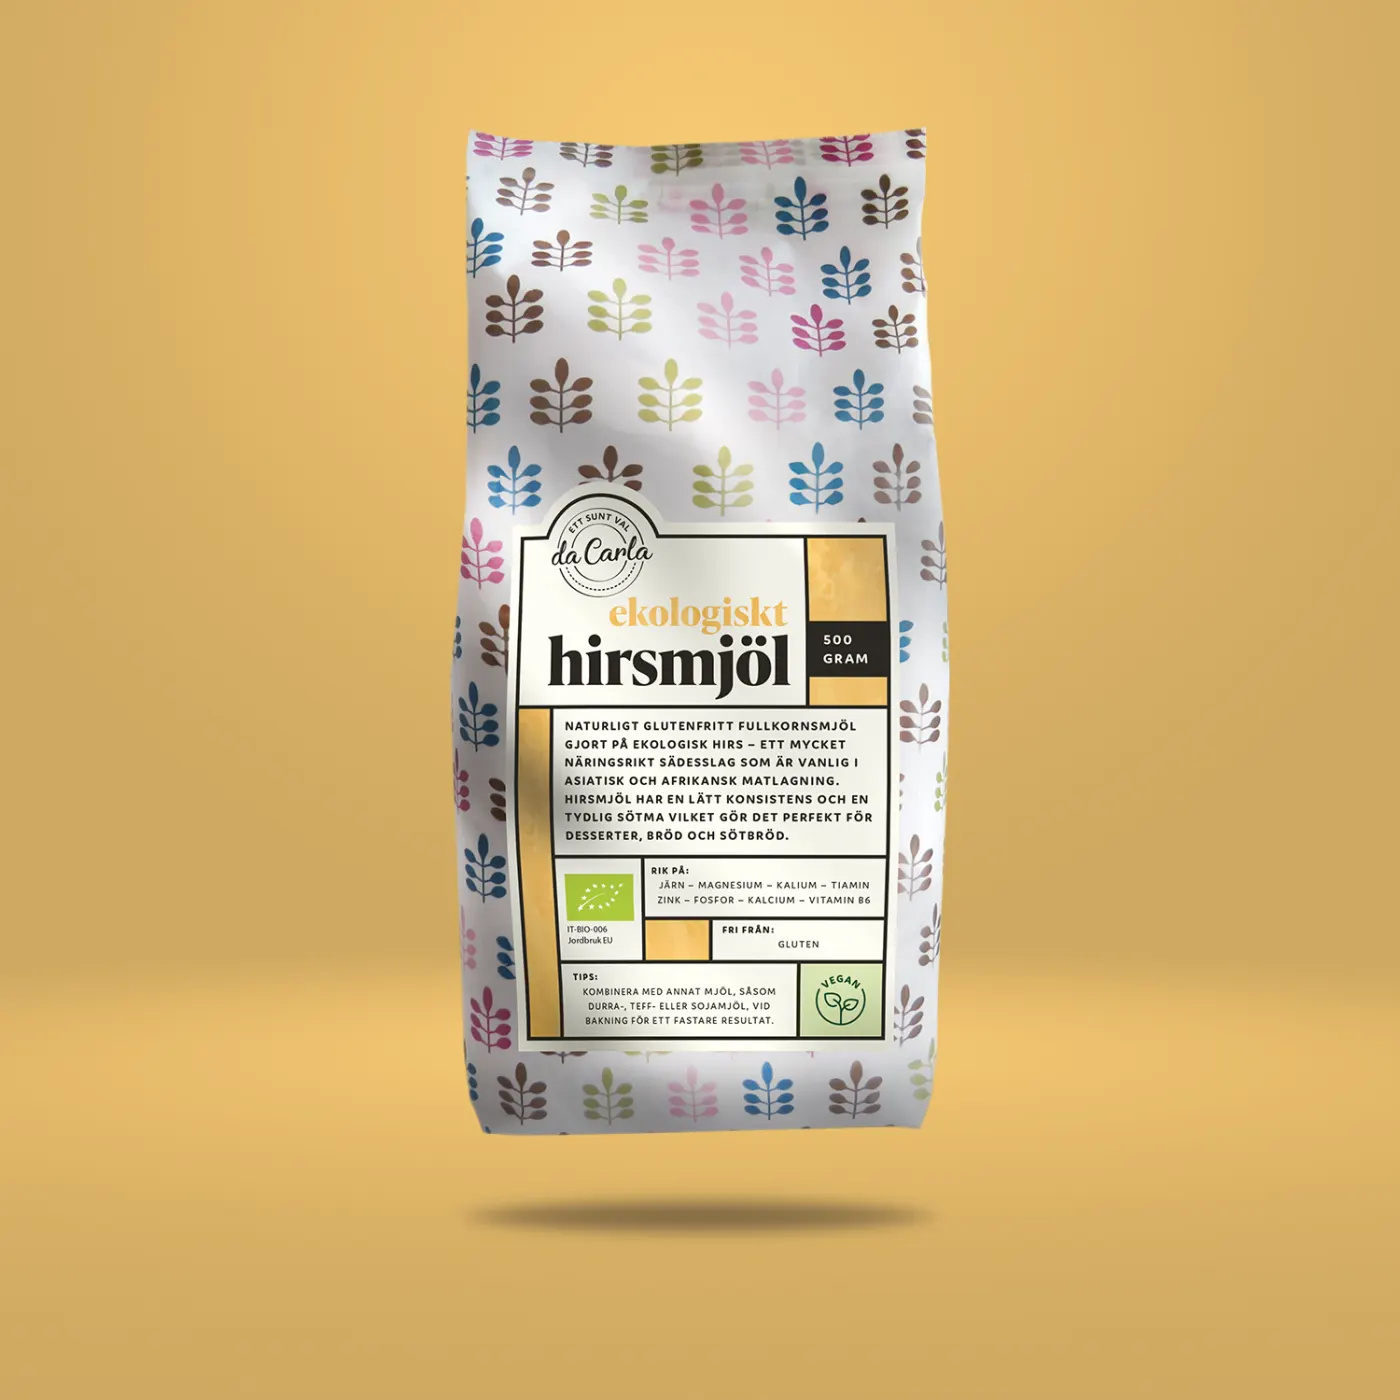
durra • bovete • teff • hirs
Creating a sourdough from scratch with da Carla's pure wholegrain flours is the ultimate way to discover the power of natural fermentation. By using our teff, durra, bovete and hirs flours, you get a living culture that gives your bread a fantastic lift, deeper flavour and better digestibility.
Here we'll walk you through how to bring your starter to life in just a few days.
Ingredients:
DAY 1
50 g da Carla flour
50 g lukewarm water (approx. 28 °C)
optional: 1 msk grated organic apple.
DAY 3-7
50 g da Carla flour
50 g lukewarm water (approx. 28 °C)
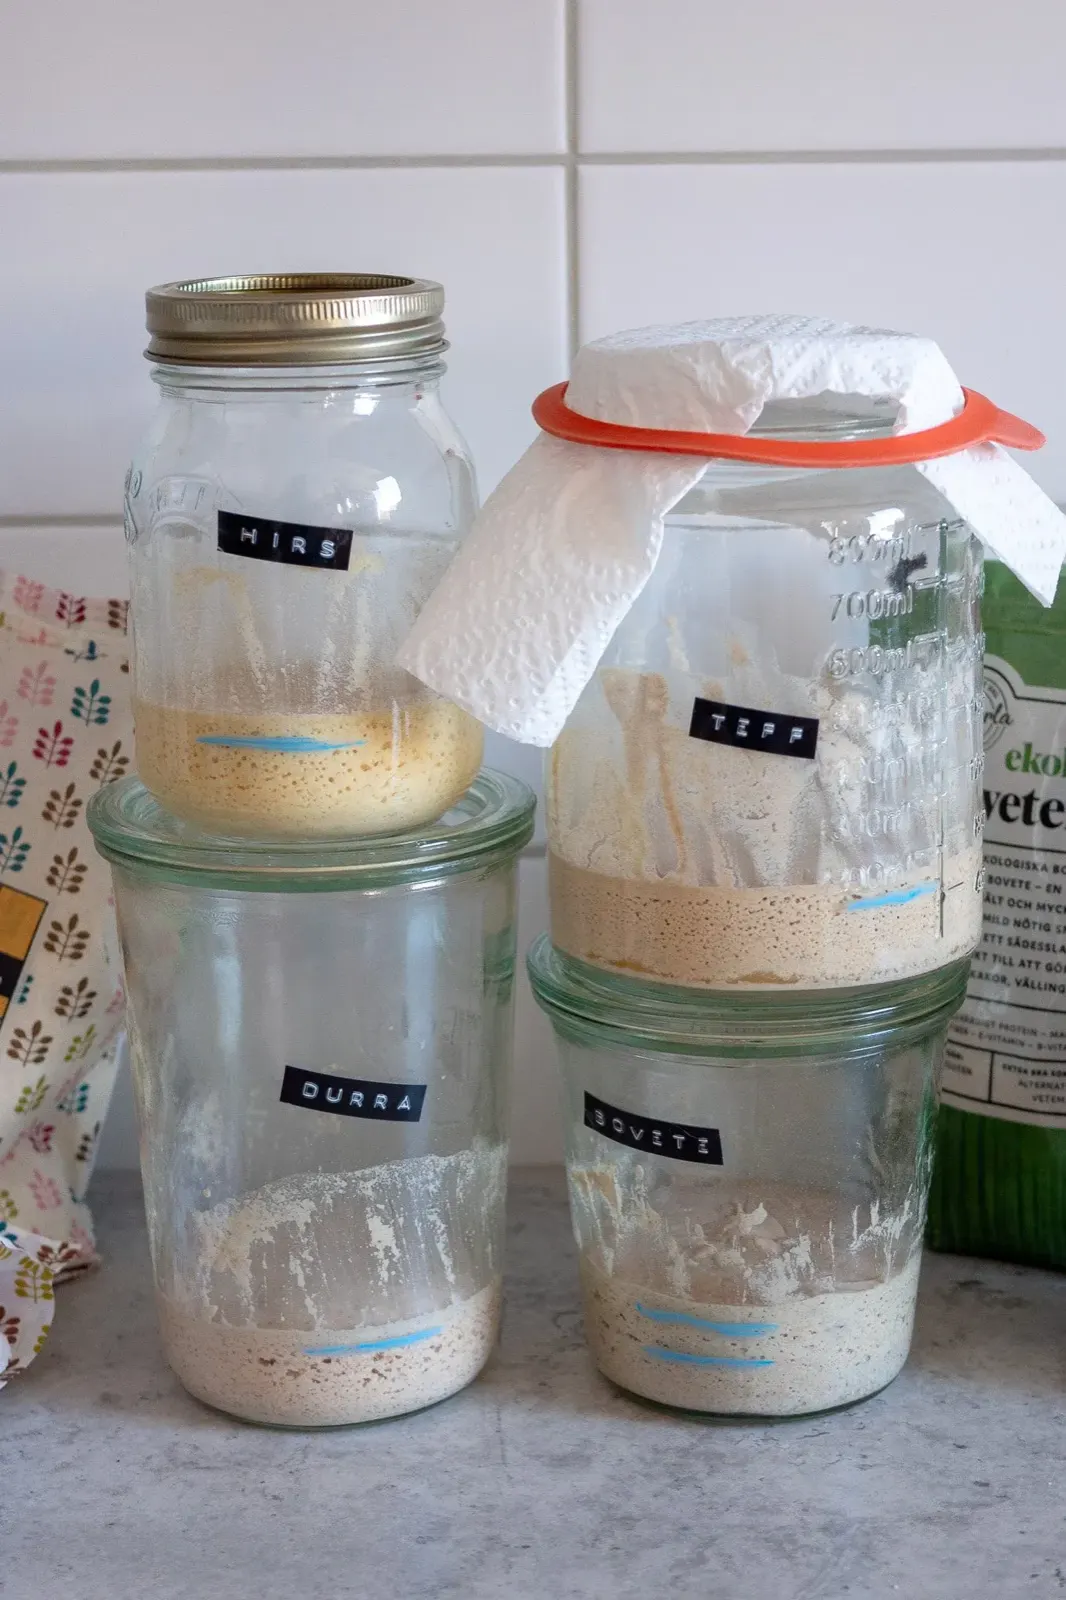
Bovete
Behaviour: This is the most active and fastest-growing starter. It often gets going quicker than all the others, but is also extremely absorbent.
Water needs: Highest. We've noticed that bovete soaks up liquid quickly. If the batter becomes too firm, the bubbles won't have the strength to expand and lift the dough. Feel free to add 5–10 g extra water when feeding to keep the consistency creamy.
Teff
Behaviour: A very reliable flour with stable rising power. It's with teff that we most clearly see the sourdough build a domed top (a "dome") when it's ready to use.
Water needs: Normal. A 1:1 ratio (equal parts flour and water) usually works best here. Aim for a consistency similar to a really thick sponge cake batter.
Durra
Behaviour: Often starts off a bit calmer than bovete and teff, but builds a strong and stable culture over time. It stands out with a very mild and pleasant aroma reminiscent of flowers.
Water needs: Medium. Durra is easy to handle and keeps moisture balanced without requiring major adjustments.
Hirs
Behaviour: Can be a little slower to get going, which makes the grated apple extra important here. We noted that hirs sourdough can often look a bit watery at the start before fermentation has properly taken off – this is completely normal and settles down after a few feedings.
Water needs: Low to medium. Be careful that it doesn't become too runny later on; it needs a certain firmness to be able to hold onto air and rise from the marking.
Here's how:
Day 1: Activation
Mix the flour and grated apple (optional) in the jar. Add the water in stages. Different flours soak up different amounts of liquid, so start carefully. The goal is a thick, even porridge. Stir, place the lid loosely ajar, mark the level on the surface with a rubber band or a chalk marker, and place the jar somewhere warm (24–26 °C), for example on top of the fridge.
Day 2: Aeration & Observation
Today you add nothing new. Open the jar and stir to introduce oxygen. The smell is still neutral and floury at this stage. Do you see a layer of liquid on top? That's called hooch and is completely harmless. It just means the sourdough is hungry or that the flour has separated. Don't pour it away – just stir it back in for extra flavour
Day 3: Assess the activity
Look for small bubbles. If your starter is bubbling, it's time for the first feeding (see below).
If you don't see any bubbles yet – take it easy! Some flours need 6–24 hours extra to wake up. Let it sit for another day and stir occasionally before you begin feeding.
Day 3 (or 4): First feeding
Once it's bubbling, it's time for the first feeding:
- Pour out half the contents (discard – save it for pancakes or muffins!).
- Add 50 g new flour.
- Add approx. 50 g water in stages. The consistency should be creamy but stable.
- Mark the jar (with a rubber band or marker) level with the surface to track the progress.
Day 4 onwards:
Repeat the feeding once a day. When the sourdough consistently bubbles and smells good around 6–12 hours after a feeding, it's time to bake your first loaf!
When is the sourdough ready to use?
It normally takes 5–7 days before the sourdough has built up enough strength to bake bread, but don't rely blindly on the calendar. Look for these three signs that your da Carla sourdough is thriving:
- The smell: This is your most important evidence! The neutral floury smell has now been replaced by a pleasant, fresh, tangy aroma – think yeast, tart fruit or filmjölk. It should smell inviting and fresh.
- The bubbles: You can clearly see small bubbles through the glass and on the surface.
- The shape: Instead of just lying flat, you'll see that the sourdough has risen slightly. Some flours form a small "dome" on top. It doesn't need to double in size (which gluten-free sourdoughs rarely do), as long as it feels lively and airy and rises from your original marking.
Timing and planning
Once the sourdough is established, it usually reaches its peak (when it's at its most active and ready for baking) after approx. 6–12 hours at room temperature.
- For baking in the evening: Feed your starter in the morning (around 07:00).
- For baking in the morning: Feed your starter late the evening before.
Storing in the fridge
When you're not baking every day, the sourdough can sit in the fridge with a tight-fitting lid. We've found it copes well unfed for 1–2 weeks. When it's time to bake again, take it out and feed it once at room temperature so it wakes back up.
The same principle applies to your discard (the surplus). Collect it in a jar in the fridge; it works brilliantly as a flavour booster in pancakes or muffins even after sitting unfed for a while.
Important about hygiene
Gluten-free sourdoughs are more delicate than those with gluten and can mould easily.
- Always work with thoroughly cleaned jars and tools.
- We strongly recommend steam-sterilising the glass jar (or rinsing it with boiling water or heating it in the oven at 100 °C) to give the sourdough a safe environment.
Cook it with da Carla
Newsletter
Keep up with the good stuff
One letter a month: recipes, news and small shortcuts for an easier everyday — a healthy choice for tutti.